DIY POOL KITS INCLUDE EQUIPMENT FROM $10,990 + delivery
ORDER ON LINE THIS MONTH AND RECEIVE FREE SALT SYSTEM AND LED LIGHT
Installation Guide
Sam·24/01/2024·0 comments
THE RIGHT WAY THE ONLY WAY TO INSTALL.. BEST PRACTICES (MEANS BEST METHODS NO SHORTCUTS)
1.Mark out your pool and sit the top of the coping no less than 20cm above the ground level (25 cm better) this will mean that nearly always the water level inside the pool will be higher than your ground level and this is what we want.
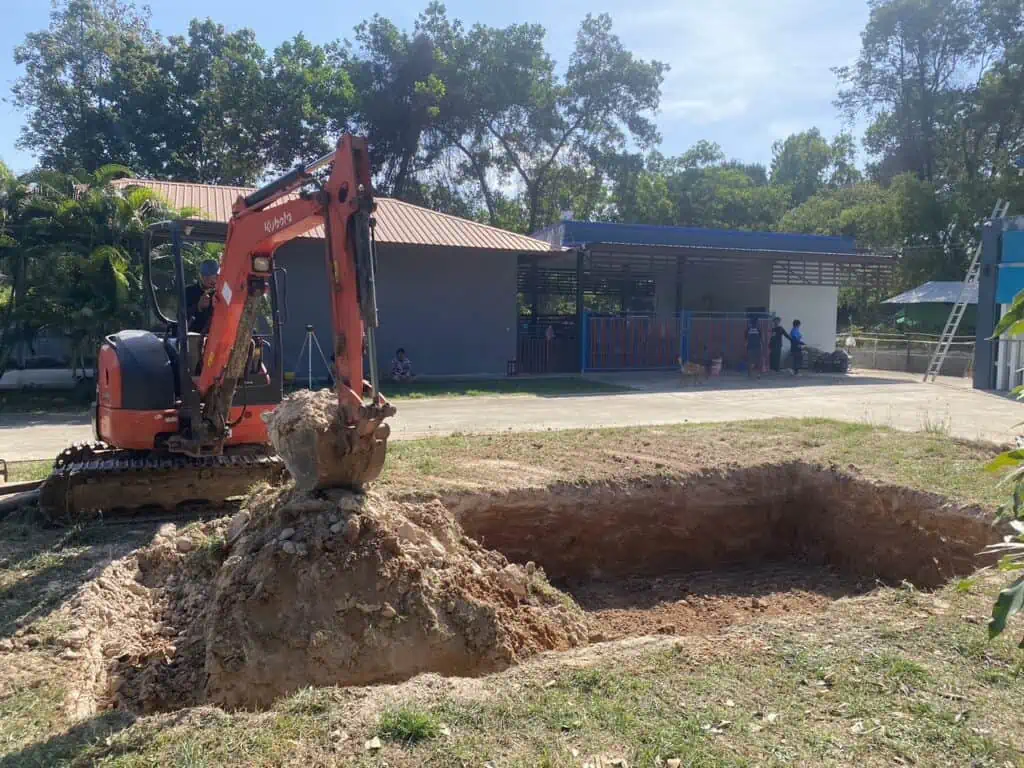
2.Always over dig your pool hole about 5cm so that you can get your 8 to1 dry sand and cement mix down the side-sand dig out a 50cm x50cm x60cm deep hole where the skimmer will go. If your hole is too tight you wont be able to get it in there
3.Put a minimum 10cm of sand on the floor of the hole, if its full of rocks etc… clean them out best you can(rocks and stones are a big no no in the floor sand and the backfill around the sides rake all rocks and stones away from the excavation once it is done, do not allow them to get mixed up in the backfill they find their way to force against the pool wall and can cause star crazes..
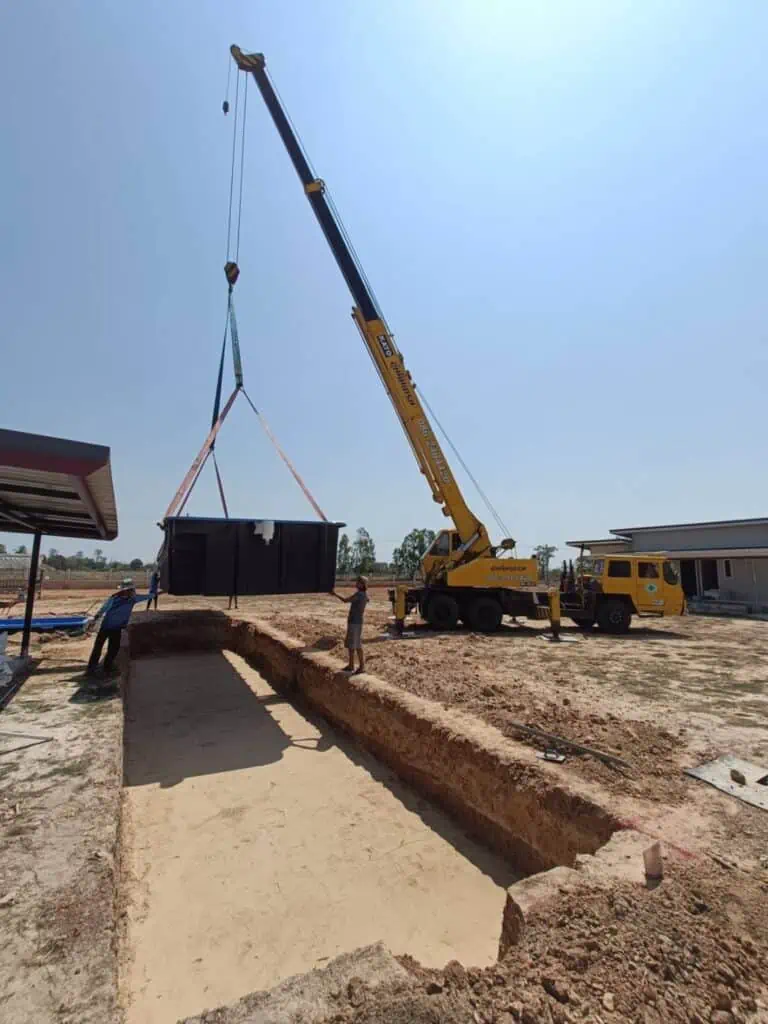
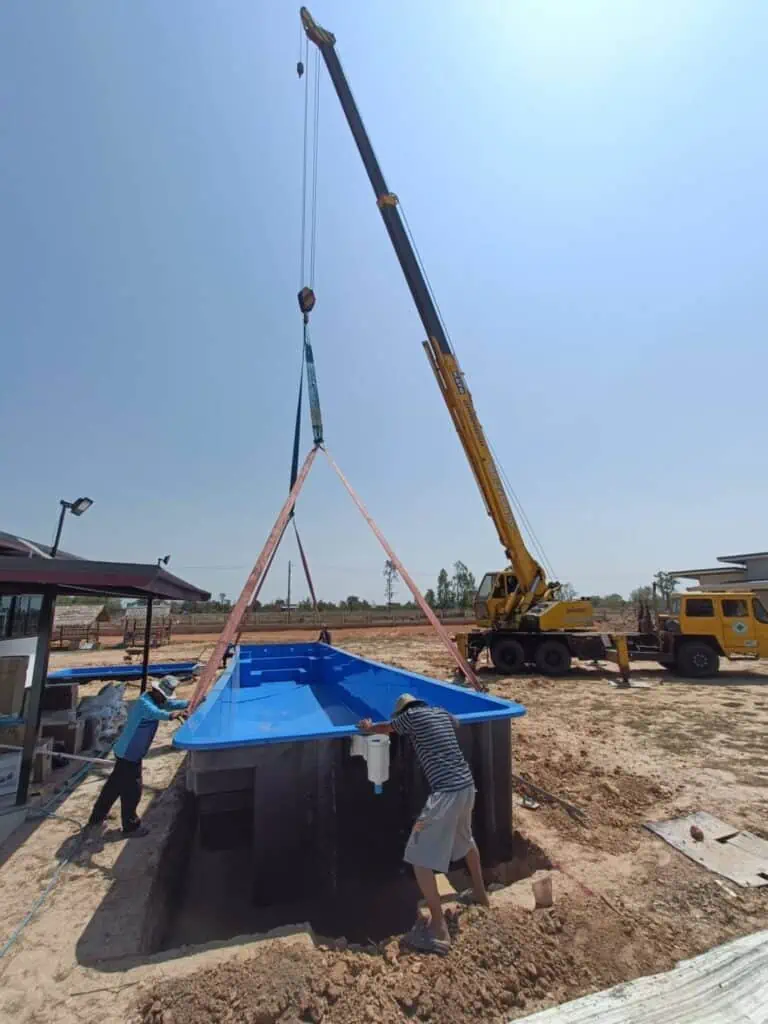
4.Once you have your sand in and screened level within 4 or 5 mml using a water level or a laser level or whatever now lower the pool in and check your levels on the 4 corners and measure each end to a wall or boundary or something to make sure you have it in level continually checking as you fill the pool up remember what ever level you have will be the water level if its 5 cm out your water level will be 5 cm out
5.Once the pool is in the hole pick a spot beside the skimmer box and get a 1.5 m piece of 90mm stormwater pipe and put some slots (holes )in it with a grinder about 30cm up from the bottom and place it down into the hole and sit on the sand later you can cut this level with the concrete and put a cap on it so that it becomes an inspection pipe ,you can put a stick down it once a week or so and see if water is building up under or around the pool in heavy rain, if it is wet that is the water level, and you can put a pump down there to pump out any water. .
6.Now its in the ground leveled up level start throwing some sand and cement around the sides to pack it in but no more than30 cm and then start filling the pool with water bringing the backfill and the water up together not one at a time both at the same level ,this will prevent the pool from bowing in or bowing out.
7.You do not pack the backfill or wet it just throw it in .The hole ,the moisture in the air makes the sand and cement go off and forms a sandstone barrier against the wall protecting it from water build up. Do not just do a sand backfill you will be asking for trouble. Having said that you don’t pack the sand and cement backfill the exception is under the steps and the swim outs. Here you must push under and pack or they will drop later and become dummy easiest way is to over-excavate a little bit and join a 2m piece of 1.5 inch PVC into a t- piece and use it to push and pack under the steps and swim-out. You can wash it in and pack using a hose sparingly.
8.Bring the backfill and the water up together checking your levels on the way up although if you get to the skimmer box and its out of level there is nothing you can do unless you want to start again .
9.Now you run your pipe from the skimmer to the pump to the filter and back to the two returns using sandpaper to rough up the male end so u take the gloss off it and use piping glue on both the male and female sections maybe 3 cm all around generously and push in firm .
10.Ok now you have run the pipe from the skimmer to the pump and the filter and the salt system if you have one and back to the pool, so u can now fill up the water level to half way up the skimmer box and start forming up around the pool to do your concrete bond beam.
11. The concrete bond-beam firstly go around the bottom of the coping and drill a 4 or 5mm hole into the coping every 60cm then lay at least 6 mml thick steel rio bars at 20cm intervals in the area you have formd up ,and now put cross bars every 20cm and tie the steel together. Now put some tie wire or pieces of steel bar into the hole you drilled and tie to the steel you have put on the ground.
DO NOT USE CHICKEN WIRE.
DO NOT USE CHEAP MESH.
DO NOT PUT PIECES OF STEEL HERE AND THERE FOLLOW THE EXAMPLES ABOVE AND THEN POUR A HIGH GRADE CONCRETE INTO THE AREA YOU HAVE FORMED UP ENSURING THAT YOU ALSO PUSH THE CONCRETE IN AND UP UNDER THE COPING SO THAT UNDER THE COPING IS FULL OF CONCRETE.
“TYING THE STEEL THROUGH THE COPING INTO THE REINFORCING ENSURES THAT THE POOL IS HELD IN PLACE AND SHOULD NOT SEPARATE FROM THE CONCRETE.”
“THIS IS THE WAY AUSTRALIAN ENGINEERS CERTIFICATE FOR THE INSTALLATION OF A FIBERGLASS POOL READS.
“THESE STEPS ARE A GUIDE TO THE INSTALLATION OF A FIBERGLASS POOL AND IS THE METHOD DESCRIBED BY AUSTRALIAN ENGINEERS.”

